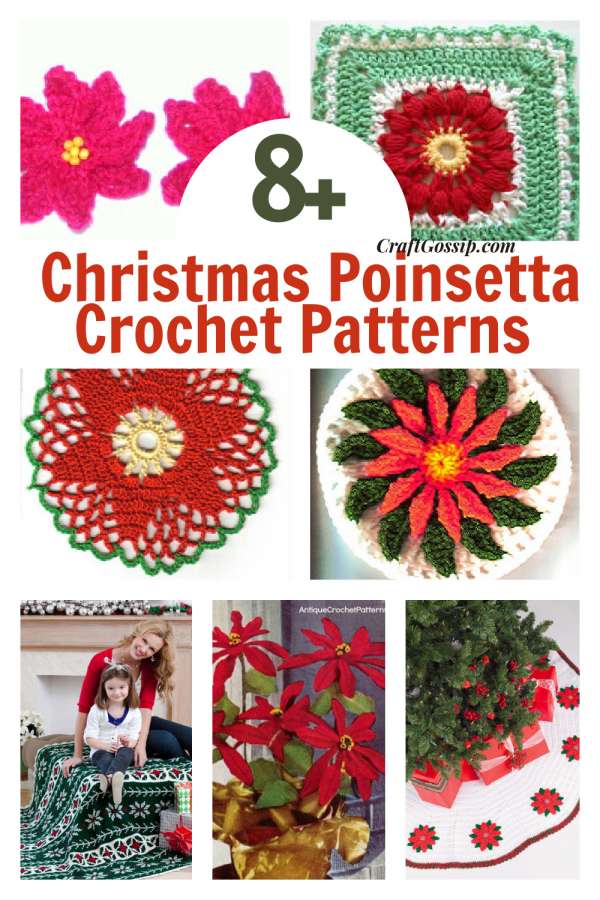
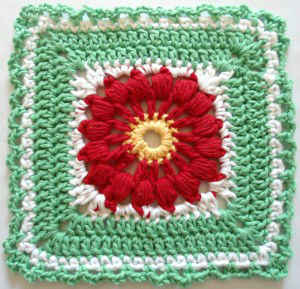
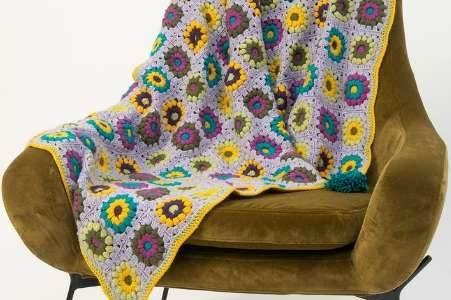
Christmas is always coming, I feel like the years fly by these days, so If I tell you in January it’s nearly Christmas time I am not exaggerating. These Crochet patterns are all for Poinsettia flowers, the Christmas flower!. I love all of these patterns but have Only made the square, It was my intention to make a small afghan, but I got a little side-tracked, maybe I will turn it into a Crochet mug rug.
Poinsettia flowers are a wonderful way to bring color into the home for Christmas.
What do you plan to crochet for your Christmas decor this year? Are you like me and still working on last year’s Christmas crochet projects? If you make something from the list, please pop back and tell us how the crochet project went for you.
Bouquet of Poinsettia’s (Vintage) Add some old-fashioned charm to your home with this beautiful vintage crochet pattern for a bouquet of poinsettias. These flowers, with their vibrant red and green colors, are perfect for the holiday season and can be displayed in a vase or used to decorate a wreath or garland. Follow the detailed instructions to create a stunning centerpiece that will impress all your guests.
Poinsettia Brooch – Looking for a unique accessory to wear this holiday season? Look no further than this beautiful crochet pattern for a poinsettia brooch. This delicate and intricate design features a realistic-looking flower with a gold-tone button center. Use high-quality yarn in shades of red, green, and gold to make this brooch truly special. Whether you wear it on a coat, scarf, or sweater, this brooch is sure to add some festive flair to your outfit.
Poinsettias Pot Holder Protect your hands and your countertops while cooking this holiday season with this fun and functional crochet pattern for a poinsettia pot holder. This adorable design features a large, vibrant red flower with green leaves and a sturdy handle. Use high-quality cotton yarn to create a durable and long-lasting pot holder that can withstand heat and frequent use. This pattern is perfect for both beginner and experienced crocheters.
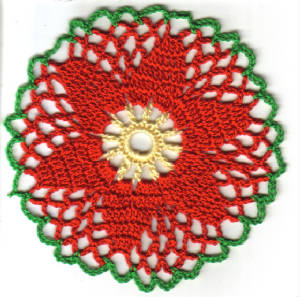
Poinsettia Coaster Add some holiday cheer to your table settings with this beautiful crochet pattern for a poinsettia coaster. This pattern features a realistic-looking flower with a gold-tone button center and green leaves. Use high-quality cotton yarn in shades of red and green to make these coasters durable and long-lasting. Whether you’re hosting a festive dinner party or just enjoying a cup of cocoa by the fire, these coasters are sure to impress.
Poinsettia Throw Rug – Bring some warmth and coziness to your home this holiday season with this beautiful crochet pattern for a poinsettia throw rug. This design features a large, vibrant red flower with green leaves on a white background. Use high-quality yarn in shades of red, green, and white to create a rug that is both beautiful and practical. This pattern is perfect for both beginner and experienced crocheters.
Dish Cloth Add some festive flair to your kitchen with this fun and functional crochet pattern for a poinsettia dishcloth. This design features a large, vibrant red flower with green leaves on a white background. Use high-quality cotton yarn to create a durable and long-lasting dishcloth that can withstand frequent use and washing. This pattern is perfect for both beginner and experienced crocheters.
Poinsettia Tree Skirt – Complete your holiday decor with this beautiful crochet pattern for a poinsettia tree skirt. This pattern features a large, vibrant red flower with green leaves on a white background. Use high-quality yarn in shades of red, green, and white to create a tree skirt that is both beautiful and practical. This pattern is perfect for both beginner and experienced crocheters and will add the perfect finishing touch to your Christmas tree.
We love the concept of making long-lasting re-usable dishcloths that are practical and help save the environment. We highly suggest using a 100% Cotton yarn as it stays fresh longer.
These eight Poinsettia Christmas holiday flower patterns are the perfect way to add a touch of festive cheer to your holiday decor. The Poinsettia, also known as the Christmas Star, is a beloved symbol of the holiday season and these patterns offer a variety of ways to incorporate this beautiful flower into your home.
These patterns are a great way to add a personal touch to your holiday decorations. Whether you choose to crochet a wreath, garland, or a standalone flower, these patterns are versatile and can be used in a variety of ways to decorate your home. The Poinsettia is a versatile flower, and these patterns reflect that versatility, as they can be used to create a range of different styles, from traditional to modern. They can be made in traditional holiday colors or in more contemporary shades, making them perfect for any home.
These patterns are not only beautiful but also great for gifting. You can make them as a thoughtful present for family and friends, or as a way to add a personal touch to your holiday gifts. Crocheting can be a meditative and relaxing activity, and working on these Poinsettia patterns can be a great way to get into the holiday spirit.
In addition, these patterns are also a great way to teach crocheting to new learners, as they are easy to follow and can be made with minimal materials. This can be a great opportunity to pass on the tradition of crocheting to the next generation.
These 8 Poinsettia Christmas holiday flower patterns are the perfect way to add a touch of festive cheer to your home. These patterns are versatile, easy to follow and perfect for both gifting and personal use, they can be made in a variety of styles and colors, and they are a great way to get into the holiday spirit. So, grab your crochet hook and yarn, and start creating your own beautiful Poinsettia decorations today!
Here’s a small Poinsettia crochet pattern that you can use to create your own beautiful flowers. You will need to make six petals in green and six petals in red using, as well as a center in yellow. Here are the instructions:
Red Leaves
- Create a magic ring and chain one.
- Round 1: Single crochet four times into the magic ring. (4 stitches)
- Round 2: Single crochet two times in the next stitch, then single crochet once in the next stitch. Repeat twice. (6 stitches)
- Round 3: Single crochet two times in the next stitch, then single crochet once in the next two stitches. Repeat twice. (8 stitches)
- Round 4: Single crochet two times in the next stitch, then single crochet once in the next three stitches. Repeat twice. (10 stitches)
- Round 5: Single crochet two times in the next stitch, then single crochet once in the next four stitches. Repeat twice. (12 stitches)
- Round 6: Single crochet two times in the next stitch, then single crochet once in the next five stitches. Repeat twice. (14 stitches)
- Rounds 7-8: Single crochet in each stitch around. (14 stitches)
- Round 9: Single crochet two stitches together, then single crochet once in the next five stitches. Repeat twice. (12 stitches)
- Round 10: Single crochet two stitches together, then single crochet once in the next four stitches. Repeat twice. (10 stitches)
- Round 11: Single crochet two stitches together, then single crochet once in the next three stitches. Repeat twice. (8 stitches)
- Join with a slip stitch to the next stitch. Fasten off, leaving a long end of yarn.
Green Leaves
- Create a magic ring and chain one.
- Round 1: Single crochet four times into the magic ring. (4 stitches)
- Round 2: Single crochet two times in the next stitch, then single crochet once in the next stitch. Repeat twice. (6 stitches)
- Round 3: Single crochet two times in the next stitch, then single crochet once in the next two stitches. Repeat twice. (8 stitches)
- Round 4: Single crochet two times in the next stitch, then single crochet once in the next three stitches. Repeat twice. (10 stitches)
- Round 5: Single crochet two times in the next stitch, then single crochet once in the next four stitches. Repeat twice. (12 stitches)
- Round 6: Single crochet two times in the next stitch, then single crochet once in the next five stitches. Repeat twice. (14 stitches)
- Round 7: Single crochet two times in the next stitch, then single crochet once in the next six stitches. Repeat twice. (16 stitches)
- Round 8: Single crochet in each stitch around. (16 stitches)
- Round 9: Single crochet two stitches together, then single crochet once in the next six stitches. Repeat twice. (14 stitches)
- Round 10: Single crochet two stitches together, then single crochet once in the next five stitches. Repeat twice. (12 stitches)
- Round 11: Single crochet two stitches together, then single crochet once in the next four stitches. Repeat twice. (10 stitches)
- Round 12: Single crochet two stitches together, then single crochet once in the next three stitches. Repeat twice. (8 stitches)
- Join with a slip stitch to the next stitch. Fasten off, leaving a long end of yarn.
Instruction Manual: How to Assemble a Poinsettia Flower
Red :
Flatten each petal/leaf.
Fold each petal up along the center line so that the two ends of the open edge meet.
Use a yarn needle and the long yarn end to make a couple of stitches at the open edge between the two ends to keep them together.
Thread all 6 petals together by running a length of yarn on a yarn needle through the folded edge of each petal.
Run the yarn through the first petal again to form a circle, pull tight, and knot to keep it in position.
Green & Centre
Flatten each petal/leaf.
Arrange one leaf over a second so that one side of the open end of one is over the midpoint of the open end of the next, and they are arranged at approximately 60 degrees.
Use a yarn needle and the long yarn end from one of the leaves to stitch them together, joining the two leaves with small stitches at the end and about a third of the way up the leaves.
Arrange another leaf over the top leaf, in the same position and angle, and stitch in the same way.
Continue until all 6 leaves are joined, and each leaf overlaps over one leaf and under another. There should be a small gap in the center.
Pull any loose yarn ends through to the back.
Final Assembly:
You should now have two (or three) rings of petals/leaves and one yellow center.
To finish assembling, arrange each layer by pulling the loose yarn ends through the center hole of the previous layers so that they are all at the back of the flower.
The layer order for a large poinsettia red, green center, and for a small poinsettia,
Rotate the layers so that their angles are offset and all the leaves are visible.
Divide the yarn ends at the back into two groups and tie the two groups in a secure knot.
Depending on what you’d like to do with your flower, you can weave in all the yarn ends, leave them long to tie it onto something, or trim them down.

Leave a Reply