Tia has created this adorable baby/tot cap that will keep tiny ears shielded from the wind and frame that tiny face so well! She has kindly offered us a free pattern so we can all make caps for the little ones in our lives. The only change I think I would make here would be to add a crocheted flower or some other suitable applique rather than the flower shown. That flower is cute, but I prefer the crocheted variety. And, there are so many cute free patterns available for flower to use as appliques. Place a cute button in the center of the flower to make it extra special. Your little one will look so cute!
Comments
Have you read?
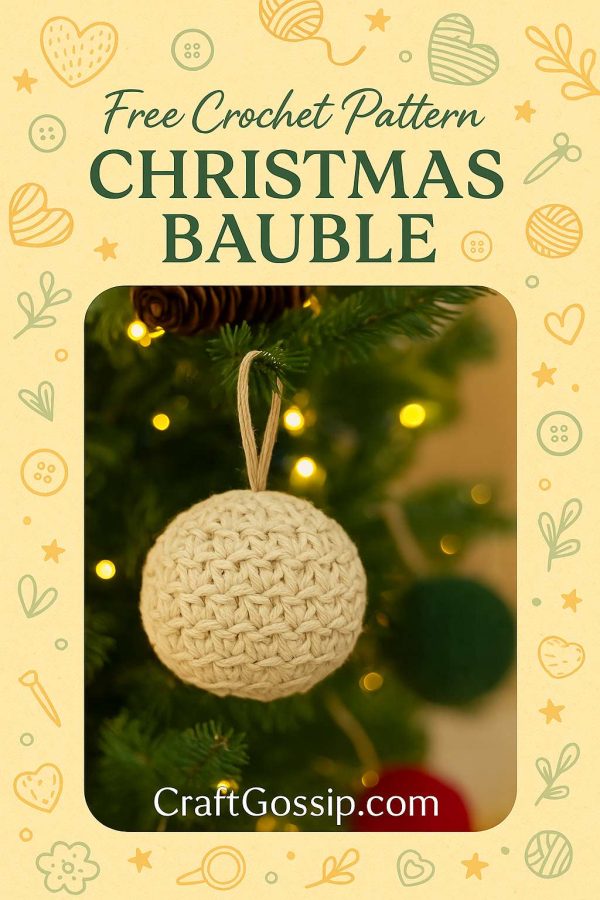
Cozy Crochet Bauble – A Scrap-Busting Holiday Ornament

Looking for a quick and festive little project to whip up during your favorite holiday movie? These plump and jolly baubles are the perfect way to use up those last bits of worsted weight yarn. You only need about 15 yards per ornament—and honestly, once you make one, you might find yourself reaching for your yarn scraps like a woman possessed. They work up in under 30 minutes, and you can customize them with ribbons, wooden beads, or even cinnamon sticks for that extra handmade charm.
They’re a hit as last-minute gifts, package toppers, or tree fillers. Pop a few in a bowl for a cheerful table display, or make a dozen to string across your mantel!
Materials You’ll Need:
- Worsted weight yarn – around 15 yards per bauble
- A 5mm crochet hook (or the size that gives you a tight, tidy stitch)
- Tapestry needle
- Poly-fil or leftover yarn scraps for stuffing
- Optional extras: ribbon, twine, or wooden beads for hanging
Techniques Used:
- sc – single crochet
- sl st – slip stitch
- inc – increase (2 single crochets in one stitch)
- inv dec – invisible decrease (single crochet two stitches together using front loops only)
You’ll be crocheting in a continuous spiral—so no need to join rounds unless you prefer it that way. Just use a stitch marker to keep track of where each round starts!
Let’s Get Stitching!
Start:
Begin with a magic ring (or, if that’s not your jam, chain 2 and work into the second chain from the hook).
Round 1:
Place 6 single crochets into the center of the ring. Pull it closed tight. (6 sts)
Round 2:
Pop 2 single crochets into each stitch all the way around. (12 sts)
Round 3:
Work 1 single crochet into the first stitch, then 2 into the next. Repeat this pattern all the way around. (18 sts)
Round 4:
One single crochet into each of the next 2 stitches, then 2 into the third. Repeat the set across. (24 sts)
Round 5:
Single crochet into each of the next 3 stitches, then 2 into the fourth. Keep that rhythm going. (30 sts)
Rounds 6 to 10:
Just cruise along with one single crochet in every stitch around. These rounds give your bauble its lovely round shape. (30 sts per round)
Round 11:
Do 1 single crochet in each of the next 3 stitches, followed by an invisible decrease. Repeat that combo around. (24 sts)
Round 12:
Now go: single crochet in 2 stitches, then invisibly decrease the next two. Continue this pattern all the way. (18 sts)
Tip: At this point, it’s a good idea to start adding your stuffing. Not too much yet—just enough to start shaping.
Round 13:
One single crochet in the next stitch, then an invisible decrease. Keep going. (12 sts)
Add more stuffing now if needed—this is your last good chance before the top gets snug!
Round 14:
Work invisible decreases around the entire round. (6 sts)
Finishing Touches:
Snip your yarn, leaving a long enough tail to sew. Thread your needle and weave that tail through the last 6 stitches. Pull tight to cinch it shut like a drawstring pouch. Tuck the end inside the bauble and secure with a knot. Weave in any leftover yarn.
Add your hanging string, ribbon, or bead if you’d like—and just like that, your bauble’s ready to deck the halls!

This is Sooo Cuuute!!! Thank You very Much! Sheri *¿*